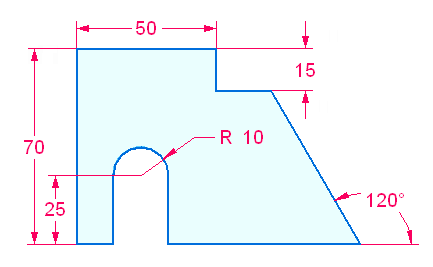

2D sketch geometry defines the cross-sectional shape used to create a base solid body or the shape used to create a feature on an existing solid body. Sketches are drawn in 3D on either a planar face or a reference plane. You lock onto a planar face or reference plane to draw sketch geometry.
Both open and closed sketches can be used to create a model feature. A sketch that forms a closed area (from sketch elements or a combination of sketch elements and model edges on the sketch plane) produces a selectable region. When a region is selected, the protrusion feature command is started. To use an open sketch, choose a protrusion command (Extrude or Revolve) in the Solids group which requires a step to define the material side of the open sketch.
Sketches do not drive features. Geometric relationships applied to the sketch geometry do not migrate to the feature created. The system can detect, on the resulting feature, tangent, parallel, coplanar and concentric faces. Dimensional relationships do migrate from the sketch geometry to the edges of the body as a feature is created.
Sketch geometry used in creating a feature is consumed and placed in a Used Sketches collector in PathFinder. Any remaining sketch geometry not consumed remains in the Sketches collector.
By default, all sketch geometry placed on a sketch plane merge into a single sketch. This is controlled by the sketch option Merge with Coplanar Sketches. If separate sketches are required on a sketch plane, the Merge with Coplanar Sketches option can be turned off. This sketch option is primarily used in an Assembly Layout design workflow.